
Last updated November 15, 2026
 Sweep & inspection
 Caps & crowns
 Flue relining
 Masonry repair
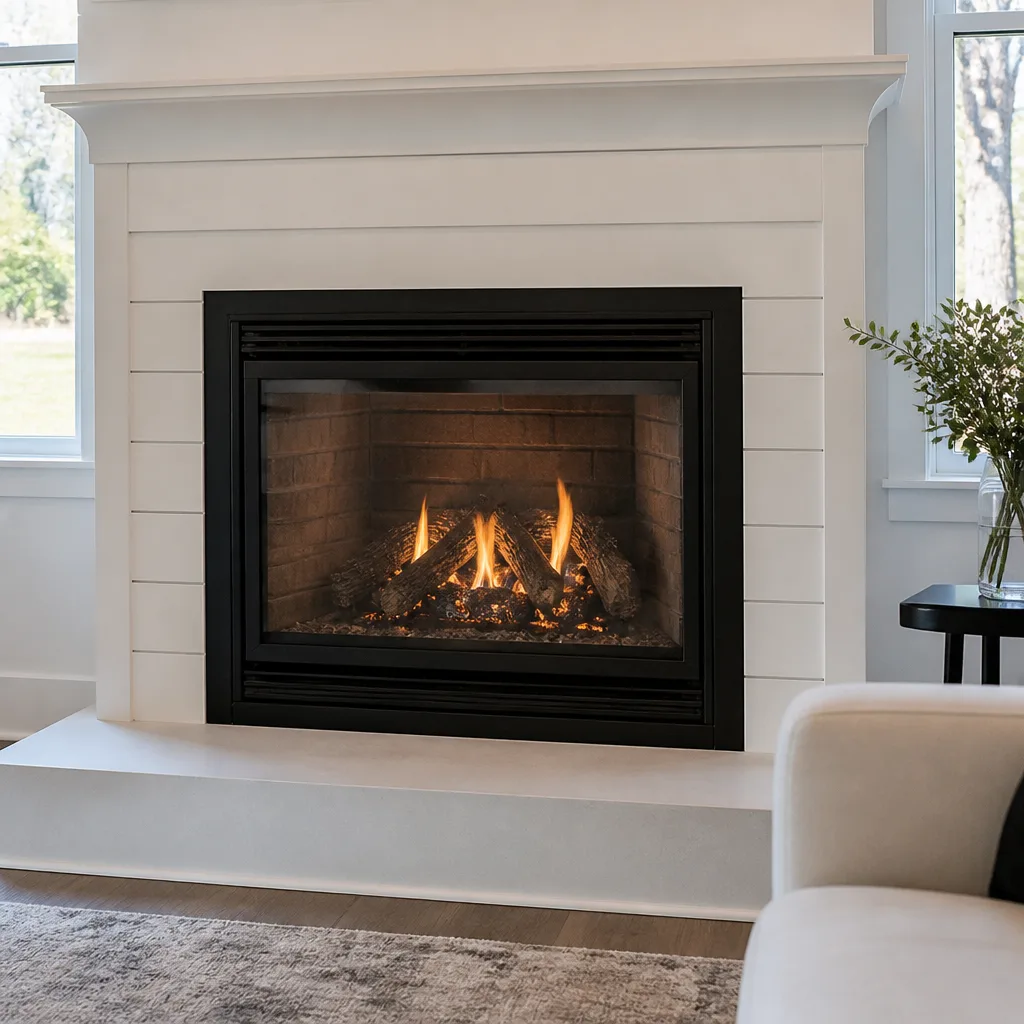 Gas fireplace service
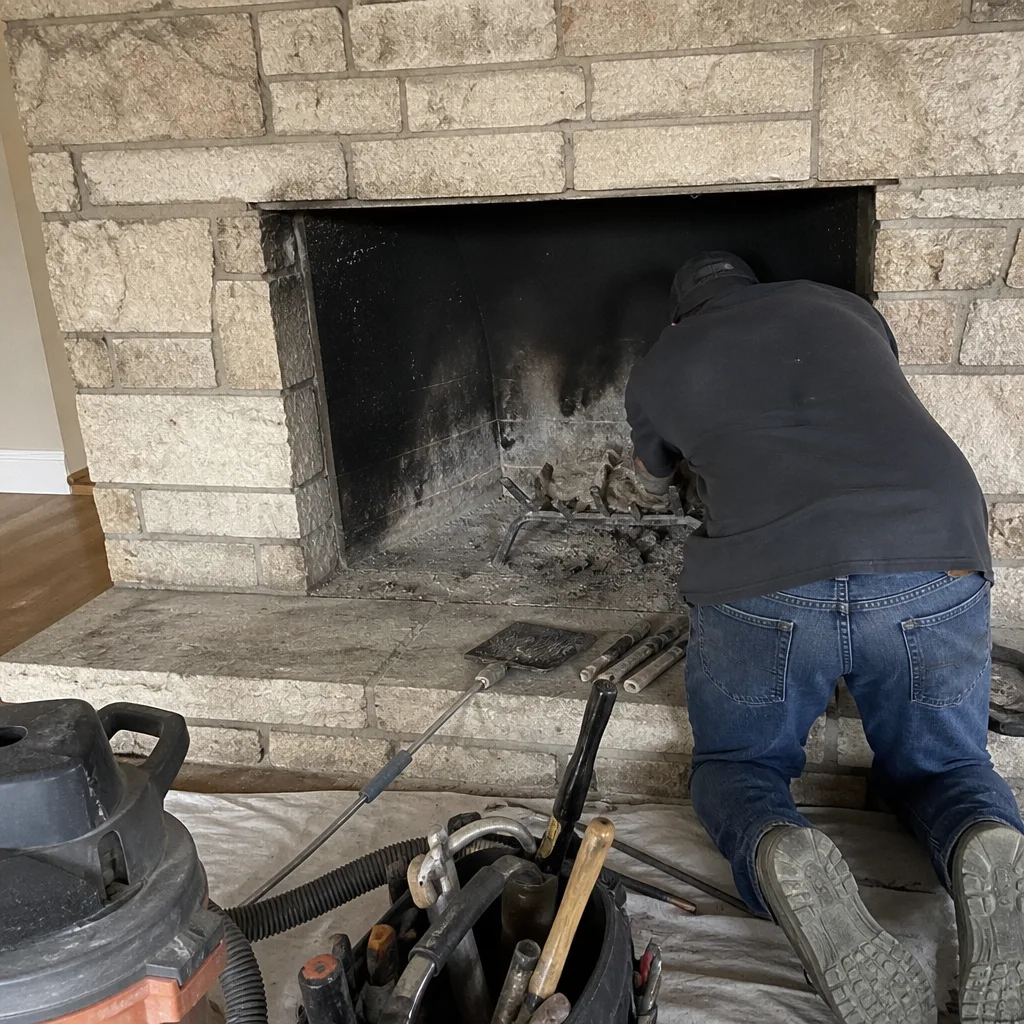
Level 1 sweep and inspection to the NFPA 211 annual standard - flue, crown, cap, and flashing checked and photographed
Chimney sweep logs do not sweep chimneys. They loosen some creosote - which then falls where a brush and vacuum still have to collect it.
Chimney Inspection Maintenance Checklist for Westminster Homeowners
Most chimney checklists tell you to look for cracks. That advice is close to useless, because a chimney has dozens of cracks and only a few of them matter. What actually happens to a Westminster chimney follows a rough order: the masonry shell takes the beating first, the liner degrades next, and the appliance connections go last. Problems start outside and work their way in. If you check in that order, you’ll catch most issues while they’re still cheap to fix. This guide gives you that sequence, tell you which cracks are worth worrying about, and shows you how to document what you find so you have a baseline when someone quotes you a repair.
Quick Answer
A chimney inspection checklist for a Westminster home should follow the failure sequence, not a random list: exterior masonry and crown first, then the flue liner, then the appliance and vent connections. Check the cap, crown and flashing for moisture entry, look down the flue from the firebox for liner damage, and record everything in writing and photos each year so you can compare condition over time. An NFPA 211 Level 2 inspection is the standard to request when you’ve bought a home, changed appliances, or it’s been more than a year since anyone looked.
Styles & brands we work with
- Sweep & inspection
- Caps & crowns
- Flue relining
- Masonry repair
- Gas fireplace service
Table of Contents
- Why the Order of Your Checklist Matters
- Step 1: The Exterior Masonry Check
- Step 2: Cap, Crown and Flashing
- Step 3: The Liner Inspection
- Step 4: Appliance and Vent Connections
- What NFPA 211 Inspection Levels Actually Mean
- How to Document Your Chimney Year Over Year
- Common Mistakes to Avoid
- When to Call a Professional
Why the Order of Your Checklist Matters
A chimney fails in stages, and the stages connect. A cracked crown lets water into the masonry. Water freezes and expands, spalling the brick face and opening mortar joints. Moisture works inward to the liner. A degraded liner then puts heat and gases closer to combustible framing. Skip the exterior and you’ll never understand why the liner is failing, because the water got there first.
Westminster sits on the Front Range, and its weather drives this sequence hard. Summers bring intense ultraviolet exposure that breaks down masonry sealants and crown coatings faster than most of the country sees. Winters swing between freezing nights and mild afternoons, so any moisture that gets into brick refreezes repeatedly. That freeze-thaw cycle is what turns a hairline crack into spalled brick over a few seasons. Homes across the north side of Westminster, from the older neighborhoods near Federal Boulevard up toward the Standley Lake area, see the same pattern: south and west-facing chimney faces weather first because they take the most sun and the most thermal cycling.
That’s why a checklist organized around the real failure sequence beats a generic “inspect your chimney” list. You check what fails first, then follow the damage inward. We’ve seen this ordering save homeowners from paying for liner work that was actually a moisture problem wearing a liner costume.
Start at the top of the system and work down. Start outside and work in. Every section below follows that logic.
Step 1: The Exterior Masonry Check
The exterior masonry is your first line of defense, and in Colorado’s climate it’s where most damage begins. Do this check from the ground with binoculars, and from a ladder only if you’re comfortable and the footing is secure. Never climb a roof or a chimney to inspect it. The purpose here is observation, not repair.
Work through these checkpoints in order:
- Look at the brick faces on the sun-facing side first. Spalling shows up as brick faces flaking, peeling or popping off in layers. That’s freeze-thaw damage, and it starts where UV exposure is strongest.
- Inspect the mortar joints for missing or receding mortar. Run your eyes down the vertical and horizontal joints. Joints that have eroded back from the brick face let water in. Joints that are cracked but flush are lower priority.
- Check for white chalky staining. A powdery white bloom on the brick (efflorescence) means moisture is moving through the masonry and drying out on the surface. It’s a symptom, not the disease. Find where the water is entering.
- Note any rust stains below the cap or flashing. Rust streaks usually point to a metal component that’s failing and letting water behind it.
- Look for leaning or bowing. A chimney that visibly leans, or a section of brickwork that bulges, is a structural concern. Stop and call a professional.
- Check the chimney’s base where it meets the roof. Cracks at this junction often trace back to flashing problems covered in the next step.
Record what you see with dated photos. The point isn’t to diagnose; it’s to notice change. A joint that’s receded a little this year and noticeably more next year tells you something is accelerating. That record becomes gold when a contractor gives you a repair estimate, because you can show them when the damage started and how fast it’s moving.
For structural masonry work, we turn to trade-grade materials. When a crown or mortar repair is part of the job, products like Copperfield and Gelco are the kind of components we source because they’re built for chimney exposure, not general masonry. Chimney repair that lasts in Westminster starts with materials that handle the local UV and freeze-thaw swings.
Step 2: Cap, Crown and Flashing
These three components are the moisture entry points most often skipped in DIY walkarounds, and they cause more interior water damage than any other part of the chimney. Check all three every year.
The cap
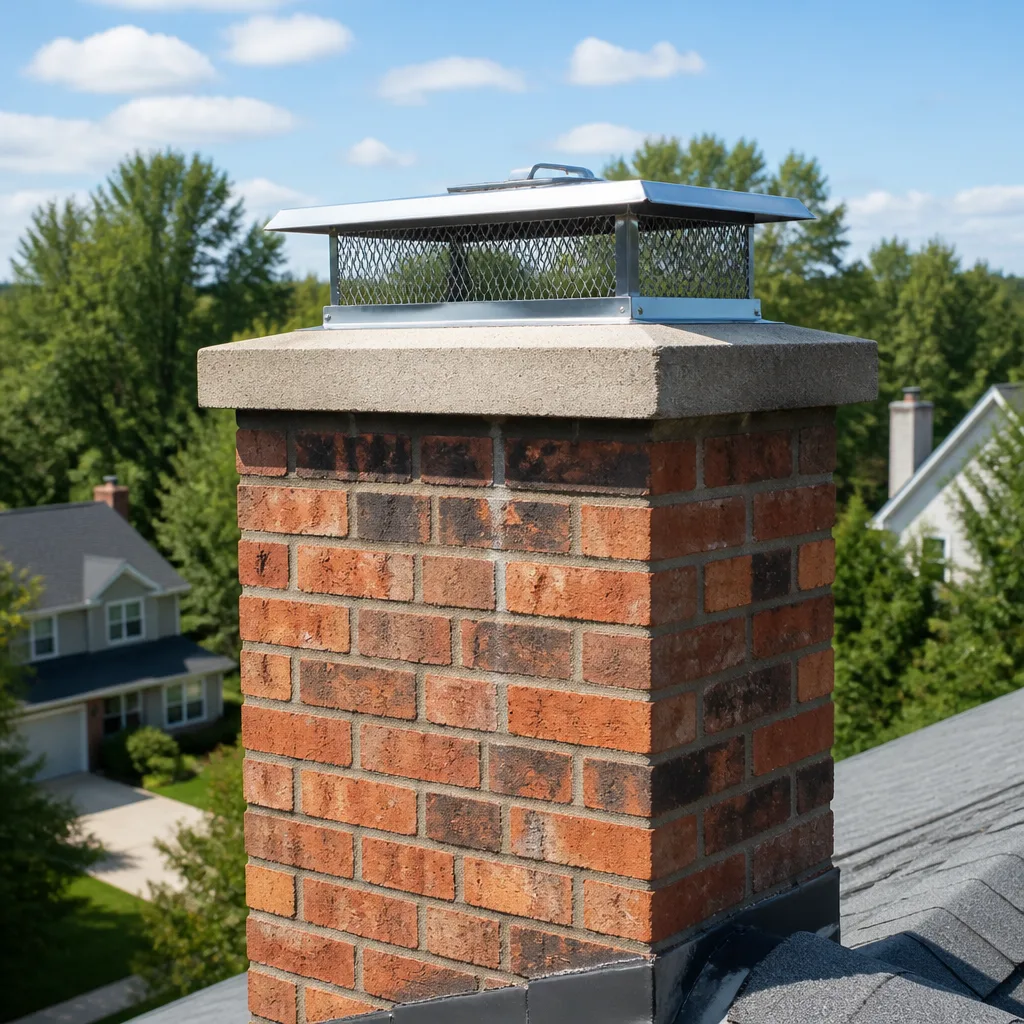
A chimney cap does two jobs: it keeps rain and snow out of the flue, and it keeps animals out. Look for a cap that’s missing, loose, rusted through, or sitting crooked. A cap that’s come partly off after a Front Range windstorm is common. If you see bird nesting material near the flue opening or hear scratching, the cap has failed its animal-barrier job. Gelco and Famco are the brands we rely on for caps, covers and the ventilation components around them, because the hardware has to survive the same weather the masonry does.
The crown
The crown is the sloped concrete or mortar cap on top of the chimney that sheds water away from the flue. Look for cracks wider than a hairline, a crown that’s pulling away from the flue, or a crown that slopes toward the flue instead of away from it. A failed crown is the single most common starting point for water damage in the whole system. Water pools on top, works into the masonry, and starts the freeze-thaw cycle from the inside.
The flashing
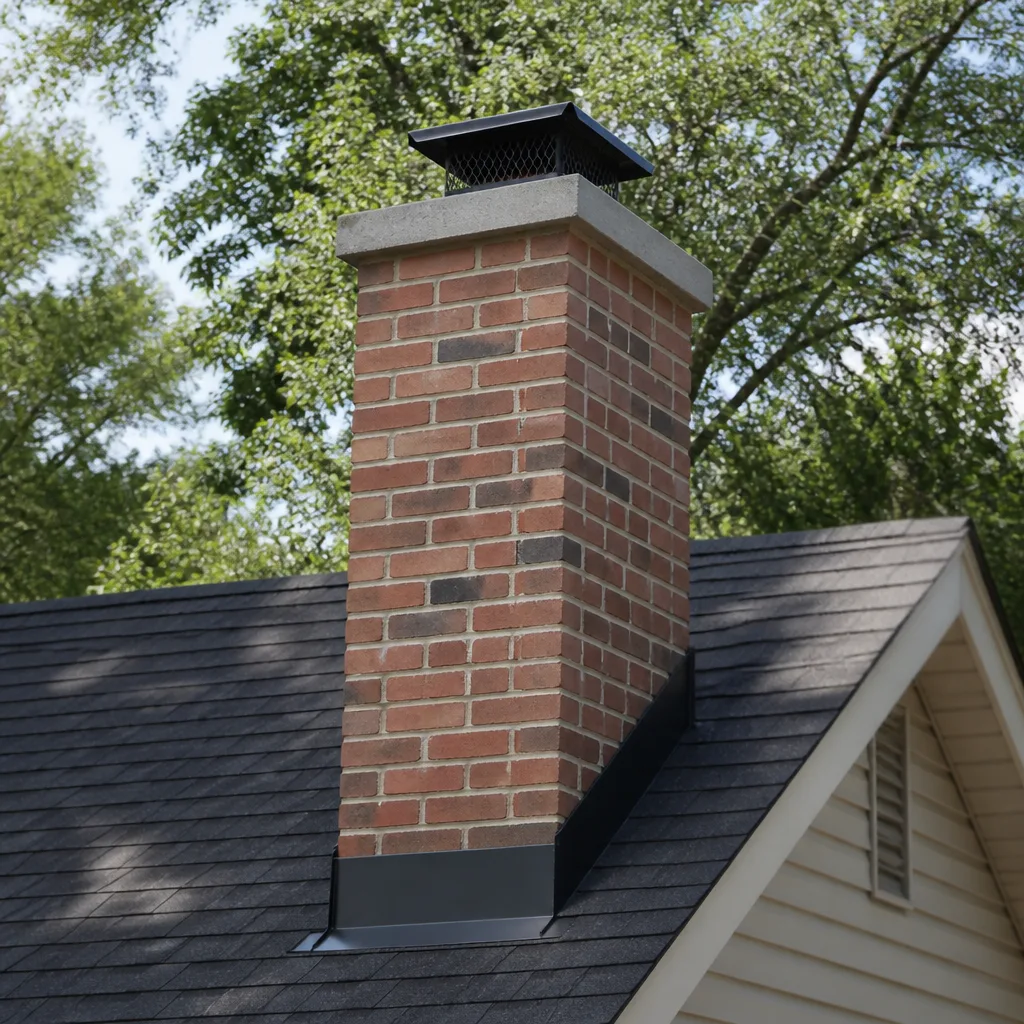
Flashing is the metal that seals the chimney to the roof. Check where the flashing meets the chimney and where it meets the shingles. Look for lifting edges, rust, gaps, or tar smeared over a failing joint (a sign someone patched it instead of fixing it). On Westminster homes with older roofing, flashing that’s been tarred over is a red flag. The tar hides a leak rather than stopping it.
If you find issues in this step, get them documented and get an estimate. Crown and flashing repairs are much cheaper than the interior water damage they prevent. This is the step where a small fix genuinely buys you years.
Step 3: The Liner Inspection
The flue liner is what keeps heat and combustion gases away from the wood framing of your house. It’s the component most homeowners can’t see and most need to understand. You can observe some indicators from the firebox before you ever call a professional, though you can’t fully inspect the liner without proper tools. That’s the honest limit of a homeowner check.
From the firebox, look for these liner indicators:
- Visible cracks or gaps in the flue tiles, especially at the joints between tiles. Shine a light up the flue and look for misaligned or broken tile edges.
- Flaking or crumbling material falling into the firebox or collecting on the smoke shelf. That’s liner deterioration shedding.
- Dark staining or soot patterns that suggest gases are escaping past the liner rather than going up the flue.
- A strong creosote smell or heavy buildup you can see from below. That’s a sign the flue needs a sweep before you can even assess the liner properly.
- Rust on a metal liner, which suggests moisture has been reaching it.
If you see any of these, stop and call a professional. A compromised liner is a fire and carbon monoxide concern, and it’s not something to diagnose from the firebox with a flashlight. The inspection that confirms liner condition needs a camera and a trained eye.
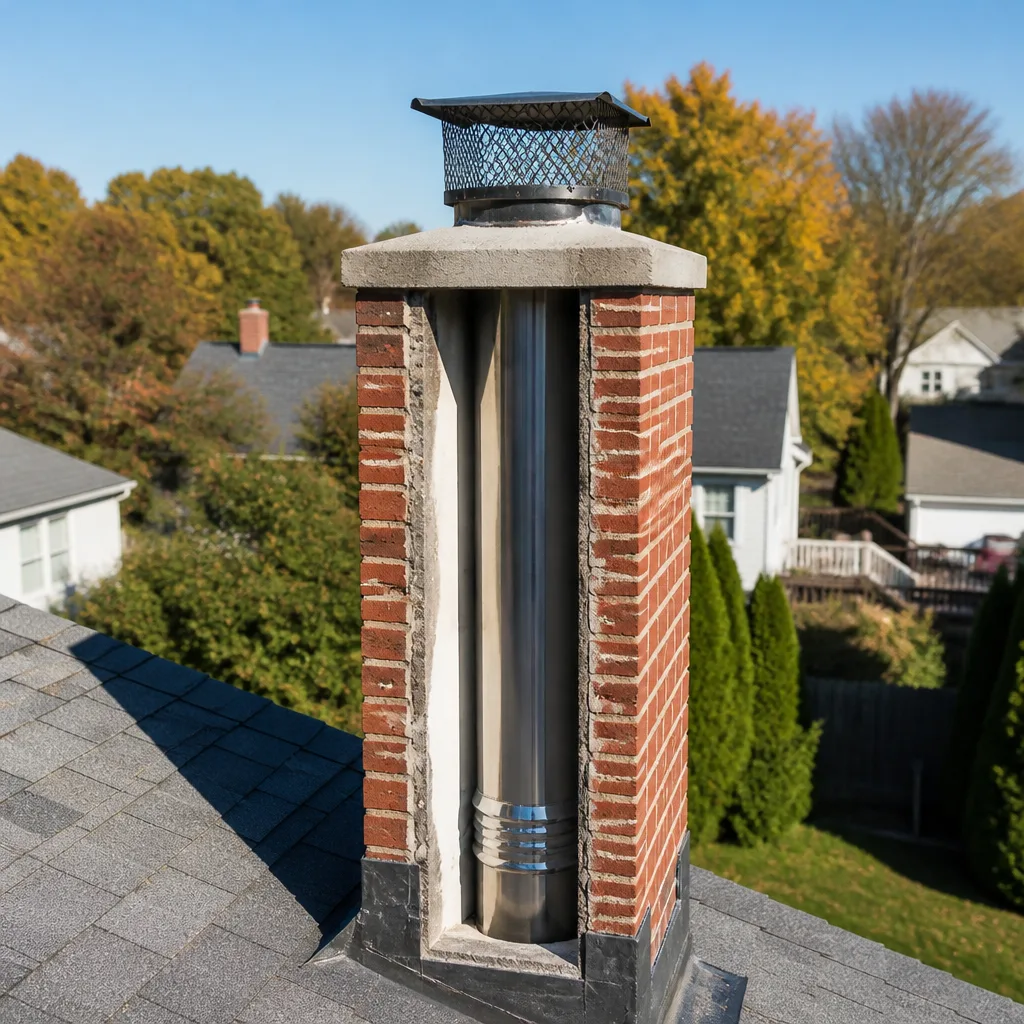
When a liner does need repair, the material choice matters. HeatShield is a professional ceramic resurfacing system used to repair a deteriorated liner from the inside without tearing out the chimney. When a liner is beyond resurfacing and needs full replacement, a DuraFlex flexible liner is the kind of system that handles a full reline. That distinction, repair versus replace, is a real scope decision a specialist makes with evidence in hand. We don’t recommend a reline on a hunch.
Have the flue cleaned and inspected before making any judgment about the liner. Chimney sweep service removes the creosote so the liner can actually be seen, and the inspection that follows is what tells you whether you’re looking at cosmetic staining or a real problem.
Step 4: Appliance and Vent Connections
The appliance connection is the last link in the chain and the one that fails last, but it’s the one that fails most quietly. This step covers the stovepipe or connector between your appliance and the chimney, plus the vent connections on a gas appliance.
Check these points:
- Connector pipe joints. Look for gaps, disconnected sections, or pipe that’s been dented or crushed. A joint that’s come apart is a direct path for smoke and carbon monoxide into the room.
- Rust or corrosion on the connector. Rust means moisture is present. Find the source before the connector fails.
- Screws or fasteners missing at joints. Connectors should be secured, not just pushed together.
- The damper operation. Open and close it fully. A damper that sticks or won’t seal is a draft problem waiting to happen.
- On a gas appliance, the vent connection and draft hood. Look for a vent that’s come loose, a draft hood that’s blocked, or signs of backdrafting like soot or discoloration around the appliance. Carbon monoxide is the concern here, and it’s invisible. Any sign of a venting problem on a gas appliance is a stop-and-call situation.
If your home has a gas fireplace or gas appliance vented through the chimney, this step deserves the most attention. Gas appliances produce less creosote than wood, but a venting failure on gas is a carbon monoxide hazard, not a nuisance. Don’t run a gas appliance with a suspect vent. If you smell gas, leave the house and call your gas utility first.
This is also the step to revisit any time something changes: a new appliance, a new liner, a remodel that moved the appliance, or a new home purchase where you don’t know the history. If you’ve recently moved into a Westminster home and haven’t had the chimney looked at, this is exactly the situation an inspection is built for.
What NFPA 211 Inspection Levels Actually Mean
NFPA 211 is the national standard for chimneys, fireplaces, vents and solid fuel appliances, and it defines inspection levels. Knowing the levels means you know what to request and why, instead of accepting whatever someone offers.
Level 1 inspection. This is the basic annual inspection. It covers readily accessible portions of the chimney and venting, and it’s appropriate when the appliance hasn’t changed and conditions are known. If everything is in good shape and nothing has changed, a Level 1 is the routine yearly check.
Level 2 inspection. This goes further, including accessible portions of the chimney and venting and inspection of areas that require some tools, like a camera, to see. It’s the level to request when you’ve purchased a home, changed the appliance or fuel type, had an event that may have damaged the chimney, or if it’s been more than a year since the last inspection. For most Westminster homeowners asking “what should I get,” the answer is Level 2 at least once, so you have a documented baseline.
Level 3 inspection. This is the most thorough and is only performed when a Level 1 or Level 2 reveals a hazard that requires access to concealed areas. It can involve removing parts of the chimney or building finish. It’s not something you request routinely; it’s what a Level 2 finding may lead to.
The practical takeaway: request a Level 2 when you move in, when anything about the appliance changes, or when you don’t have a clear history. Then request a Level 1 annually once you have that baseline. Ask the person inspecting which level they’re performing and why. A chimney specialist should be able to explain it in plain terms.
We work at all three levels, and we explain what level a job needs and why before we start. The scope determines the work, not the other way around.
How to Document Your Chimney Year Over Year
Documentation is the part of chimney maintenance almost nobody does, and it’s the part that protects you when a contractor gives you a repair estimate. Without a baseline, you have no way to judge whether a recommendation is urgent or premature. With one, you can compare.
Here’s a documentation routine that works:
- Take dated photos every year, from the same spot. Photograph the crown, the flashing, the brick faces on the sun-facing side, the cap, and what you can see up the flue. Same angle, same distance, same month each year. Side-by-side comparison tells you what’s actually changing.
- Keep a one-page written log. Note the date, who inspected (you or a professional), which inspection level was performed, and any findings. A pro’s written report should be filed with your photos.
- Save the written estimate for any repair you’ve had done, including what was replaced and with what material. Future inspectors benefit from knowing a heatShield resurfacing was done, or a DuraFlex liner was installed.
- Write down any appliance change. New stove, new insert, new gas appliance: note the date. This tells future inspectors when the venting needs reassessment.
Why does this matter? Because “your liner needs replacing” is a very different conversation when you can show it was inspected last year with no liner findings, or that a resurfacing was completed three years ago. Documentation is your leverage. It’s also how you keep a Westminster home’s chimney records intact across owners, which matters at resale.
Keep the log in a folder with your home maintenance records, and keep the photos in a dated folder on your phone or computer. It takes less than an hour a year and it will pay for itself the first time someone recommends a large job.
Common Mistakes to Avoid
- Skipping the exterior this year because it “looked fine last year.” Spalling and cracked crowns progress faster than most people expect in a freeze-thaw climate. The whole point of checking is to catch change early, so check even when you’re confident nothing has changed.
- Burning only a few fires and thinking the chimney is fine. Creosote builds with restricted oxygen and cool flue temperatures, not just with volume of fires. Fewer, cooler fires can leave a nastier deposit than regular hot burns. Sweep based on condition, not on how much you burned.
- Trusting a tarred-over flashing joint. Tar hides a leak rather than fixing it. A smeared joint is a sign to get it properly inspected and repaired, not reassurance.
- Assuming a new home means a clean chimney. A pre-purchase inspection is one of the most valuable checks you can do in Westminster, because you’re inheriting someone else’s maintenance history. Get a Level 2 before you rely on that fireplace.
- Calling for a sweep but never getting an inspection. A sweep removes creosote; it doesn’t confirm liner condition. These are two different services, and you need both to know what kind of shape the system is in.
- Ignoring a draft problem. Draft issues point to a venting or liner problem, not just a comfort problem. Treat a draft that won’t resolve as a reason to inspect.
- Watching a contractor without asking for evidence. When someone recommends a liner or a rebuild, ask for a camera inspection and a photo report. A professional will happily provide it. If they can’t show you what they’re seeing, you can’t judge the recommendation.
When to Call a Professional
Some of this checklist you can do yourself. Some of it you shouldn’t. Call a professional when you see any of the following: spalling brick with receding mortar joints; a cracked or pulling crown; flashing that’s lifting or tarred over; visible liner cracks or crumbled material in the firebox; a draft that won’t resolve; a gas appliance with any sign of venting trouble; or any visible lean in the chimney. Also call if it’s been more than a year since your last inspection, if you’ve just bought your home, or if you’re changing out an appliance. These are the situations where a trained eye and a camera make the difference between a small fix and a large one, and where the difference between repair and replacement is a judgment call a specialist should make with evidence.
Hillcrest Chimney Sweep offers free estimates in Westminster. Call (844) 785-0715 to book an inspection. We answer 24/7. Fast dispatch from 7am to 7pm, Sunday through Friday. We inspect it, sweep it, and fix it, and we’ll tell you exactly what your chimney needs and nothing it doesn’t.
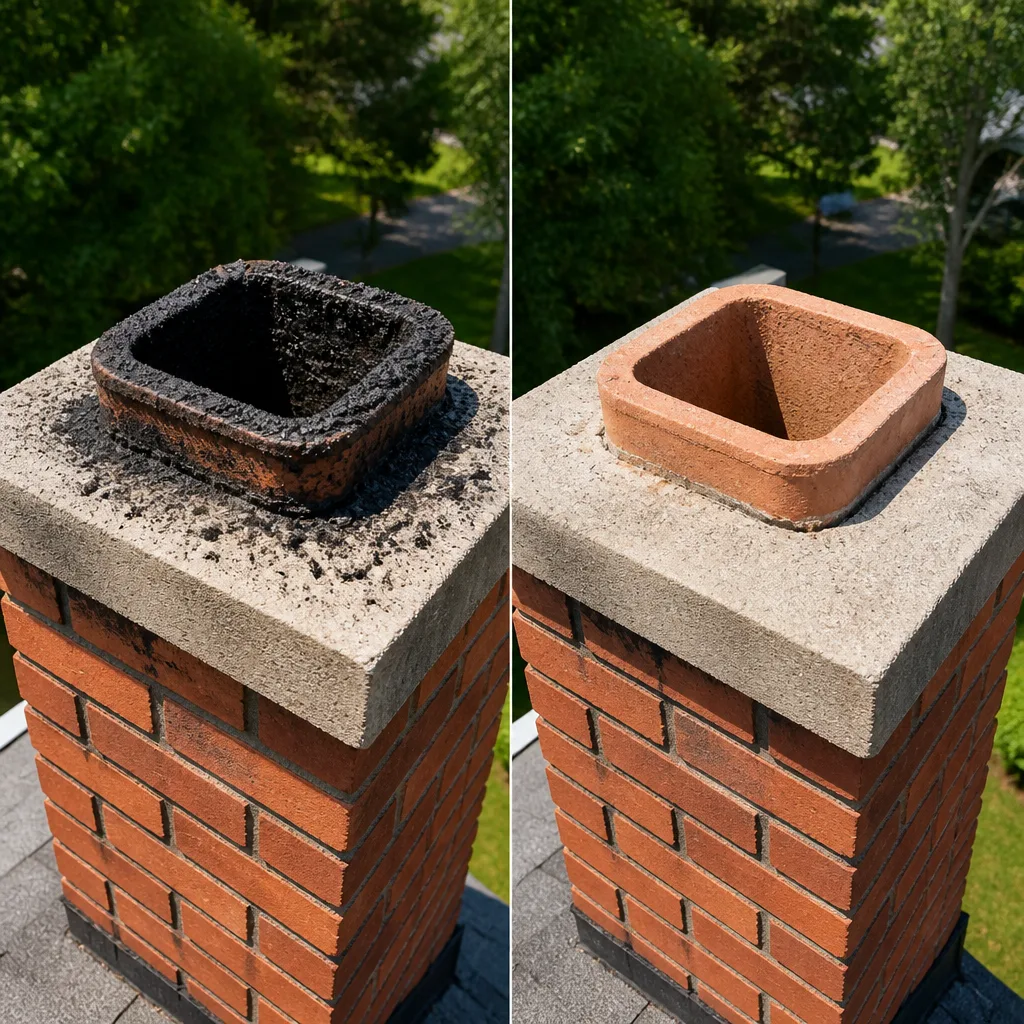
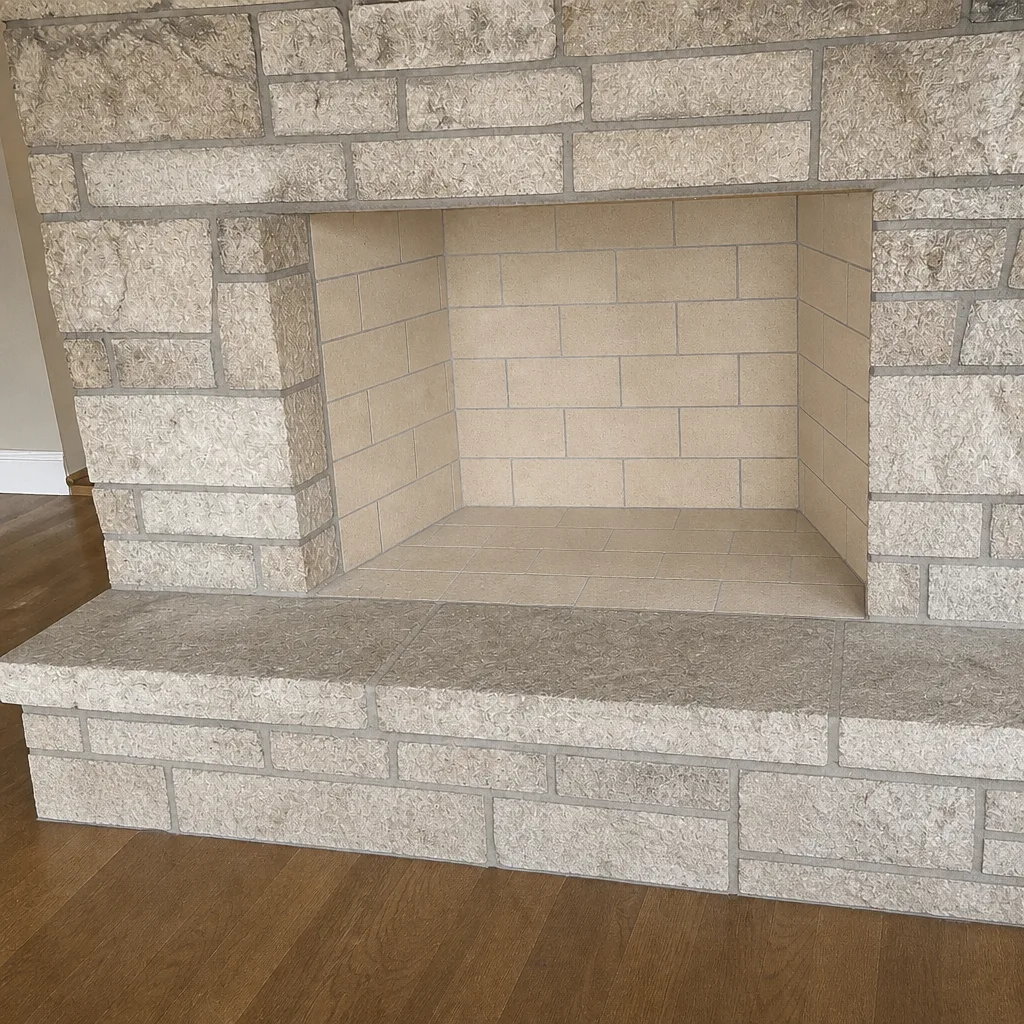
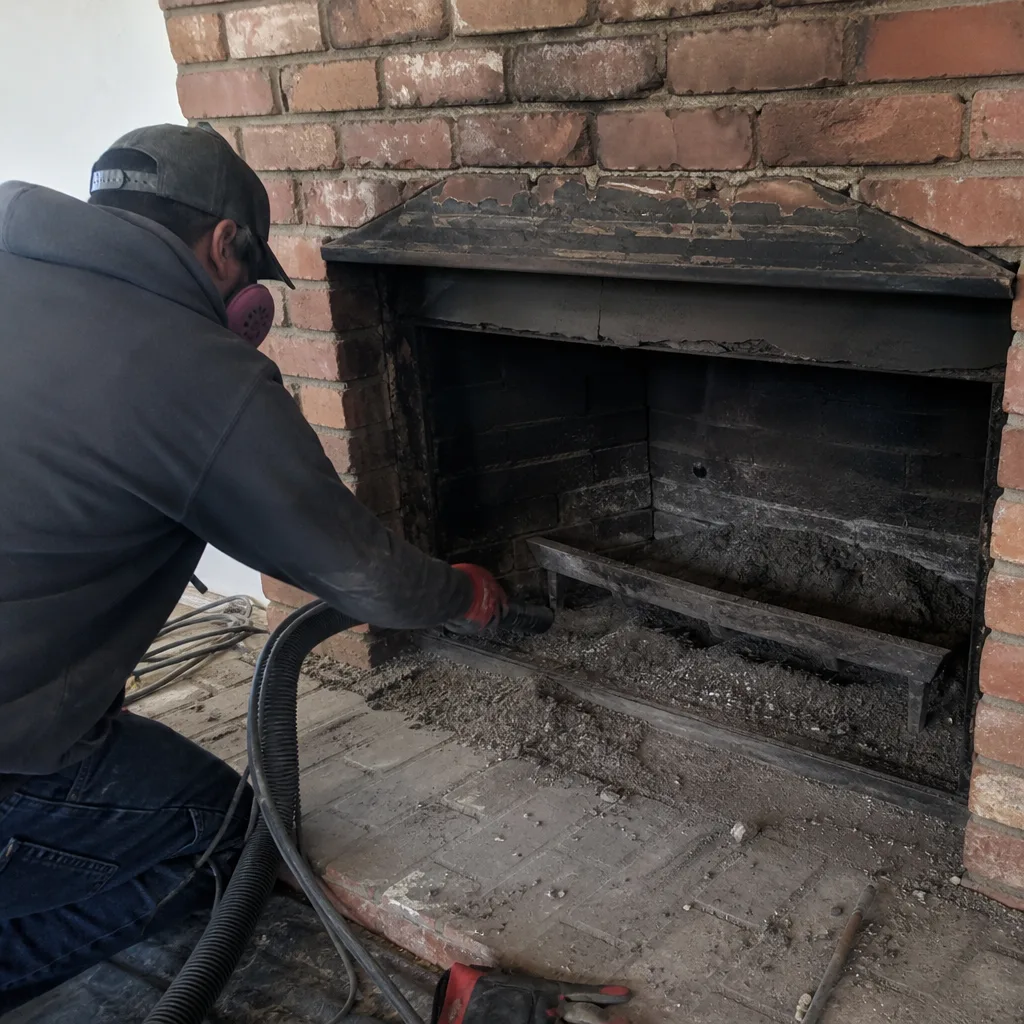
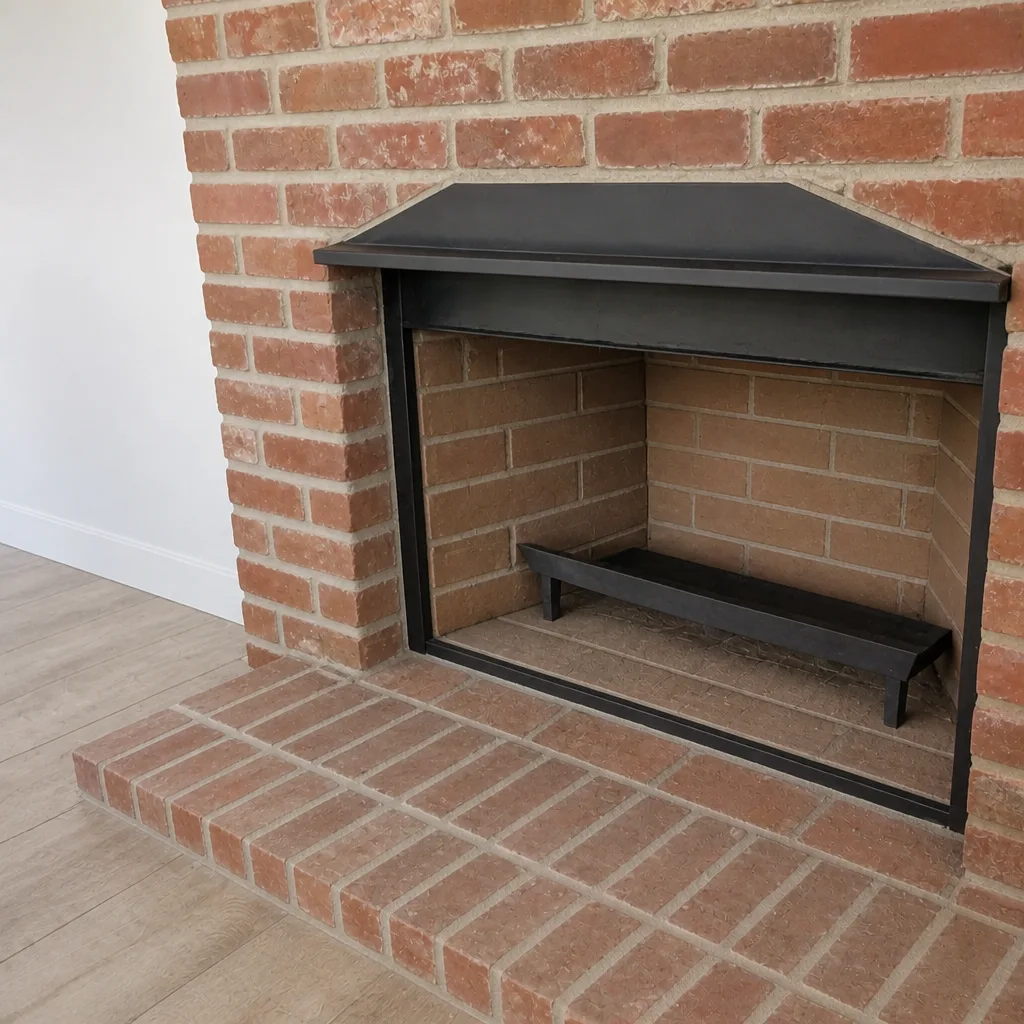
See the difference
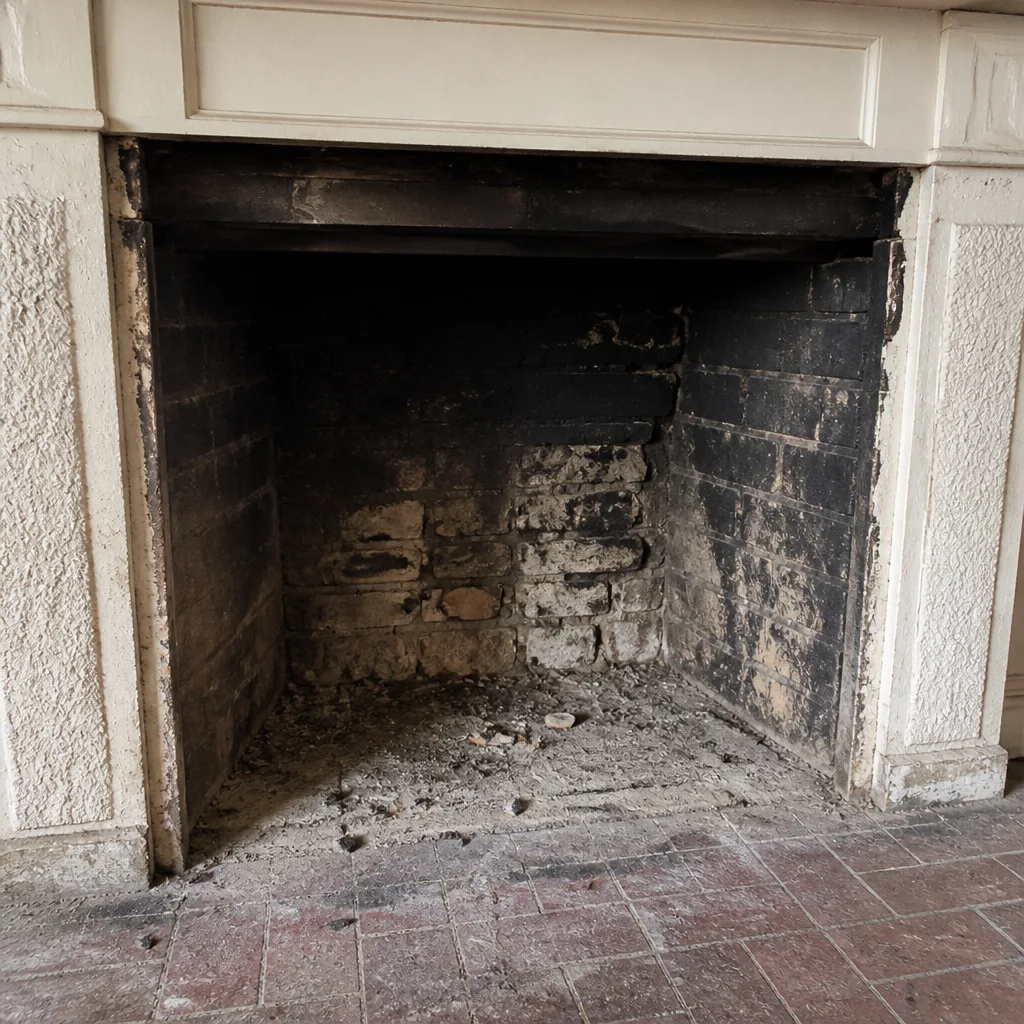 Before
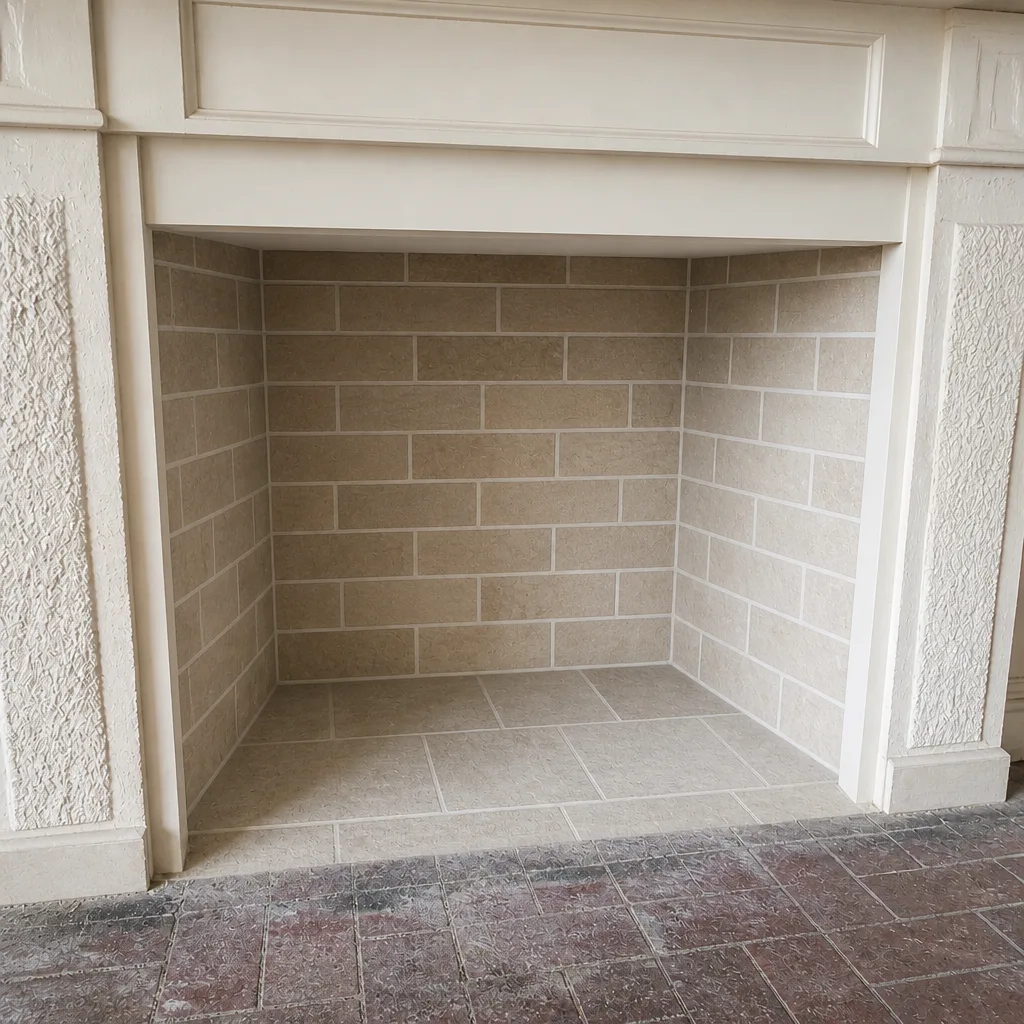 After
 Before
 After
 Before
 After
Frequently Asked Questions
Once a year is the standard, and the climate here makes the annual check especially worthwhile because freeze-thaw damage compounds quickly. If you’ve just moved in or anything about your appliance has changed, request a Level 2 inspection for your baseline. Once you have that documented baseline, an annual Level 1 keeps the record current. Call (844) 785-0715 to schedule, and we’ll tell you which level applies.
A sweep removes creosote, soot and debris from the flue; an inspection assesses the condition of the whole system, including the liner, cap, crown, flashing and appliance connections. You need both, and a good service does the sweep and inspection as one visit so the liner can actually be seen. Book both together when you call.
You can do the exterior observation and the firebox-level liner indicators described in this guide, and you should. But you can’t complete a proper inspection without a camera and the training to interpret what it shows, and you should never climb the chimney to check it. Use the DIY check to spot warning signs, then have a professional confirm with evidence.
A liner should only be replaced when there’s visible evidence: broken or misaligned tiles, a rusted-through metal liner, or a flue that’s the wrong size for the appliance. Ask for a camera inspection and a photo report before approving any liner work, and ask whether resurfacing with HeatShield would solve the problem instead of a full reline. If a contractor can’t show you what they’re seeing, don’t approve the work. We show the evidence before recommending anything.
Skipping an inspection means you’re trusting the parts you can’t see. Creosote builds unseen, liner cracks go unnoticed, and a failing crown lets water into the masonry all summer. The risk of a chimney fire or carbon monoxide problem is real when the system is compromised, and both are far easier to prevent than to recover from. An annual inspection is the cheapest way to keep that risk low.
Before the heating season, so any repairs are done before you need the fireplace. Summer and early fall are good times to book because you’re not waiting on a comfortable night. If you discover a problem mid-season, don’t wait: call and we’ll book you in. Call (844) 785-0715 for a free estimate on any repair the inspection turns up.
The Bottom Line
A chimney checklist only works when it follows the way chimneys actually fail. Check the exterior masonry first, because UV and freeze-thaw damage start there. Then check the cap, crown and flashing, the three moisture entry points most DIY walkarounds miss. Then look down the flue for liner indicators, and finish with the appliance connections. Write down what you find and photograph it every year, so you have a baseline to compare against. Know your NFPA 211 inspection levels so you can ask for the right one. And when something looks like a real problem, get a professional who will show you the evidence before recommending work. That’s the whole checklist, and it’ll serve your Westminster home for as long as you own it.
Hillcrest Chimney Sweep handles the complete service cycle, inspection, sweep and repair, under one roof, using professional-grade materials from brands chimney specialists trust, including DuraFlex liners, HeatShield resurfacing, and Copperfield and Gelco components. If your walkaround turns up anything, or if it’s simply been a year, call (844) 785-0715 for a free estimate. We answer 24/7. Fast dispatch from 7am to 7pm, Sunday through Friday. For a closer look at our Westminster service and how Hillcrest Chimney Sweep approaches this work, our team is ready to talk through what your chimney needs.
Written by the team at Hillcrest Chimney Sweep.